How to configure Vendor Subscription in Marketcube.
In this article, we will learn about the vendor subscription functionality and how to set it up.
A vendor subscription functionality allows operators to create subscription packs for your vendors before they can start selling their products on your e-commerce platform. Vendors buy your subscription packs so that they can start selling their products.
You can define how many products they can sell with each subscription pack, how much it will cost, for how long it will be valid, and for how many times the billing will recycle. You can also create as many subscription packs as you want.
How to configure vendor subscription feature:
1. Log in as an Operator >> Click on the Settings Icon >> Navigate to "Vendors" >> Click Show >> Click "Vendor Subscription".
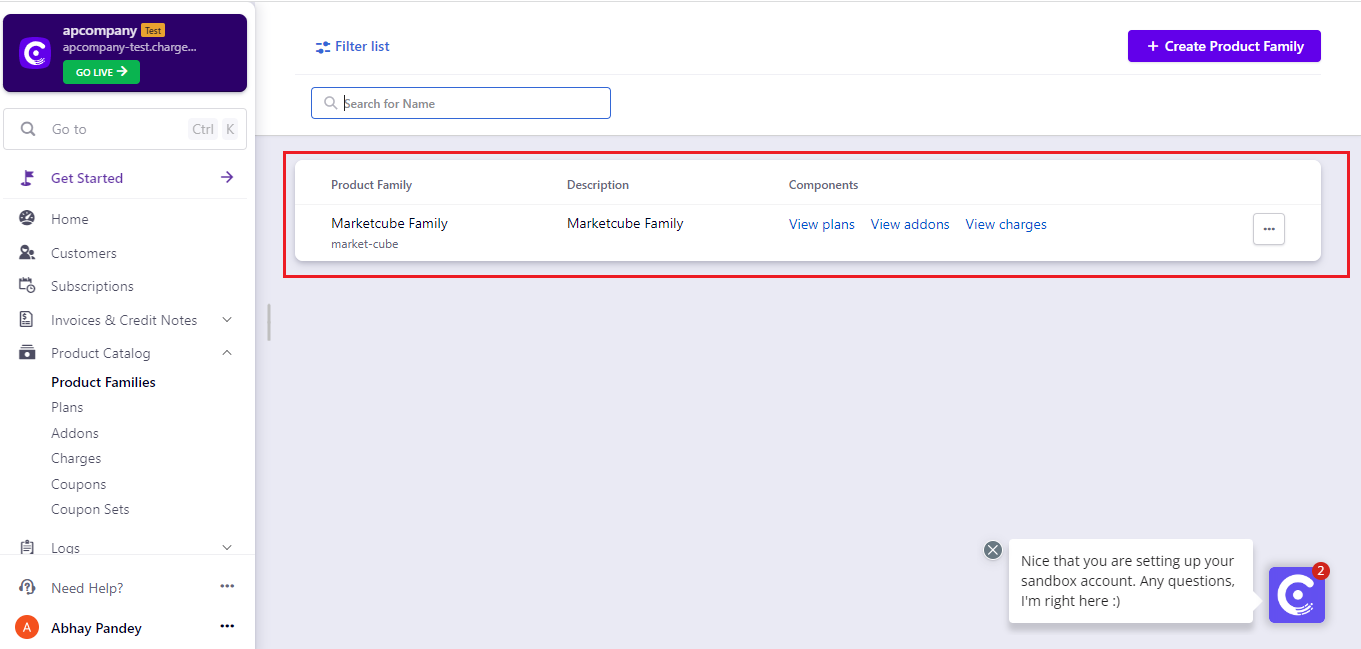
 2. On the vendor subscription page Click the checkbox "Enable Chargebee for vendor subscription" >> Enter the "API Key" & "Domain", Also select "Currency" >> then Click on the "Save" button.
Note: API Key will be available in your Chargebee account. Go to Settings >> Configure Chargebee >> API Keys and Webhooks.

4. Once the operator saves the Chargebee details, the system redirects to the "Add Plan" Page, here operator can add plans for his vendors >> Click on the "Save" button

5. Once the operator added the plan it will be reflected in the "Manage Plan" Option.
Log in as an Operator >> Click on the "Settings Icon" >> Navigate to "Vendors" >> Click Show >> Click "Manage Plan"

6. Now when the vendor registers himself in the Marketcube via a link shared by the operator on his email, after registration system will redirect them to the "subscription page" where the vendor needs to select a plan to proceed.

7. Once the vendor clicks on the select plan, one pop-up will be shown to checkout for payment.

- Once the vendor clicks on "Proceeds to checkout" one new window will pop up to confirm the order.

- The vendor needs to add a billing address to proceed.

- Once the billing address is added the vendor needs to add payment details for Payment.

- After filling the payment details vendor needs to confirm these details to proceed.

- Once the vendor confirms Payments the system redirects the vendor to the welcome page for onboarding.

Got more questions? Use the chatbox on the right to get in touch with us or email us at support@marketcube.io.